
Anyone who knows me, knows that I have spookiness in my blood. I am the youngest of three brothers and every year growing up, Halloween was always something spooktacular. I went to my first haunted house when I was six, and when I was a little older, and done with trick or treating, we started putting together a home-haunt.
Fast forward a few years to when I started dating my husband (2009). He learned really early on that he would have no say-so in Halloween plans, and that he would always find himself the actor in whatever haunt-dream I was cooking up at the time. When he jumped right in and grabbed the clown mask & was keeping up with my brothers, I knew he was end game (ha!).
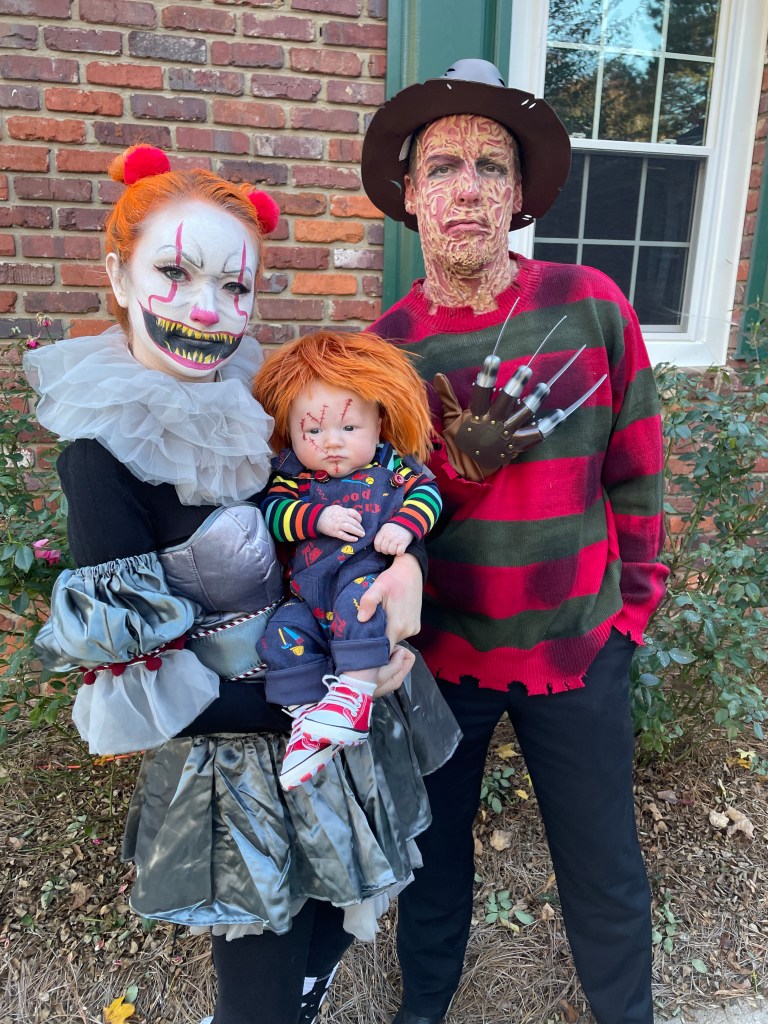
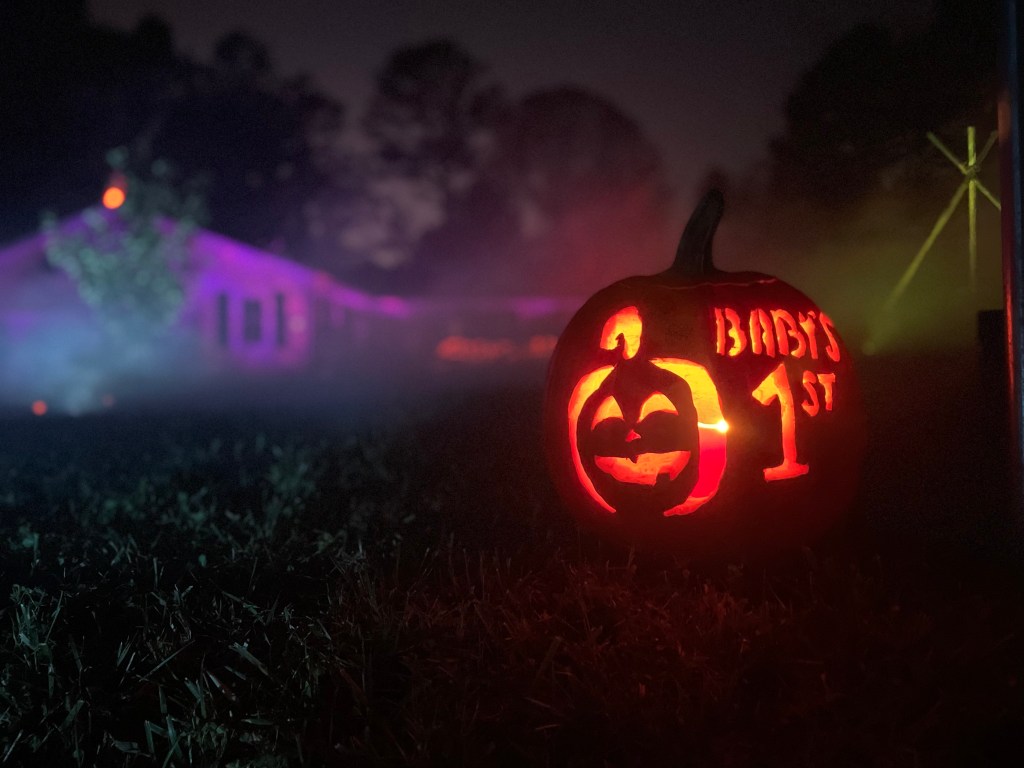
This year was my son’s first Halloween, and even before he was born people were expressing their excitement for, not just his birth, but for what he’s be for Halloween. I knew it had to be great, because, um, duh! It’s Halloween & he’s my son. Obviously everyone knows I don’t do cute Halloween, so naturally these is the costume I chose for my son…

Details on Holt’s costume:
I knew even before Holt was born that I was going to need baby-safe makeup. Don’t worry, I realize that all of you non-Halloween readers are laughing at me right now, and it’s okay, I can deal with your judgment. The first thing out of my husband’s mouth (in regards to Halloween with a baby) was “You’re not putting makeup on our newborn,” so good thing I was already prepared with my research. You’ll find links below to all of Holt’s stuff, including the baby/kids safe makeup! The vinyl I used is Siser Easy Weed HTV and the cuts are custom made – you can message me if you have a need for these!
- Rainbow onesie– Holt’s is in Navy
- Wig – completely customized! We glued it to one of his beanies and my stylist cut it to fit his head.
- Overalls
- Shoes
- Makeup
How do you put makeup on a 2 month old? When he’s a sleeping zombie!

My costume: Pennywise!

- Costume from Amazon
- White face
- Detail makeup
- Shading can be done using any black eye shadow!
- Poof hair ties from Amazon
- And to complete the look…..red balloon, blown up courtesy of Publix!
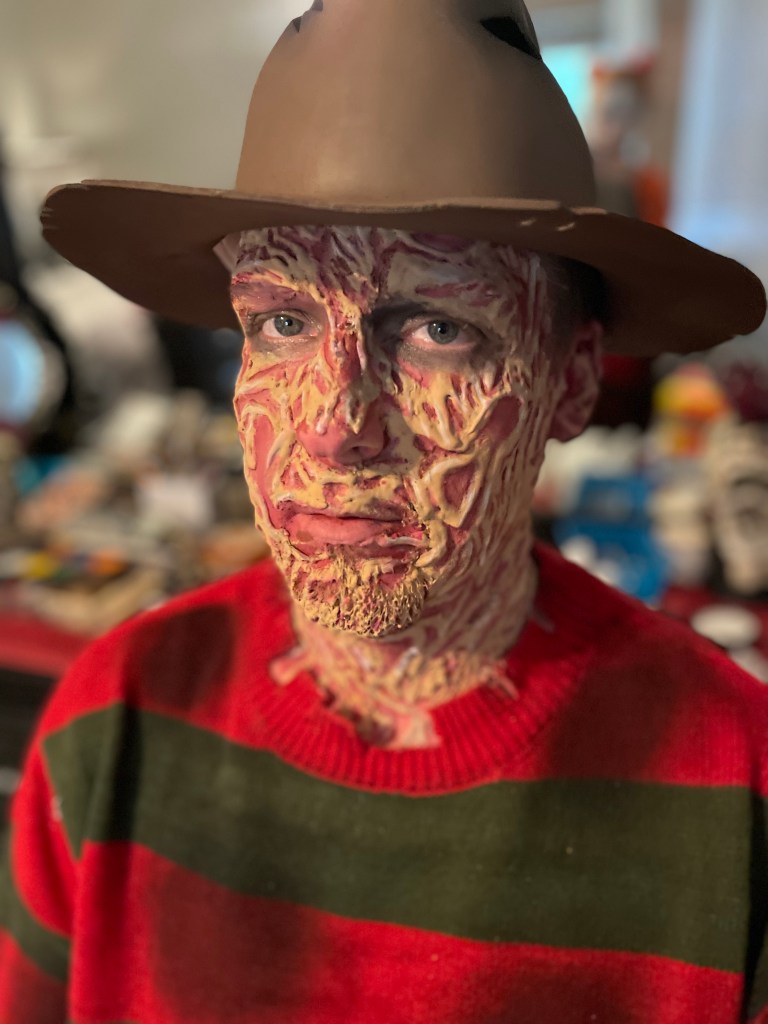
Grand Finale: Derek’s Freddy Krueger Makeup

Obviously I’m not naive to think you came scrolling on this blog post for Holt and me– you came to learn how I achieved Derek’s Freddy face. Well, you’re in luck and you’ve scrolled down to the right place.
If Derek had his way, he’d be Buzz Lightyear every year for Halloween, and obviously that doesn’t go over well with the Halloween queen.
Freddy Krueger is Derek’s all time favorite slasher, so I decided to make all his “nightmares” come true. If you’d like to take a “stab” at this look, check out the tutorial below.
You Will Need:
- A reference photo of Freddy
- Eyeliner pencil – in hindsight I would recommend using white because you have to cover it all up with makeup. Any pencil will work – think cheap from the dollar store!
- A makeup palette & spatula for the silicone – I used this one from Amazon.
- White paint- I used the one that came with this pallet from Amazon.
- Silicone Modeling Compound – I used 3rd Degree & found it on Amazon.
- Foundation & sponge – just a cheap kind that matches subject’s skin tone.
- Flesh & Blood style pallet- I used this one.
Patience is key!
This is quite the undertaking, and not because you need to be super skilled. It requires a little bit of skill and a WHOLE LOTTA PATIENCE. All in, from start to finish, it took me three hours to do. Of course pros might not take as long as I did.. but it’s a process! Basically it took be longer to do Derek’s makeup than to birth my son. Let that sink in. So here we go…!
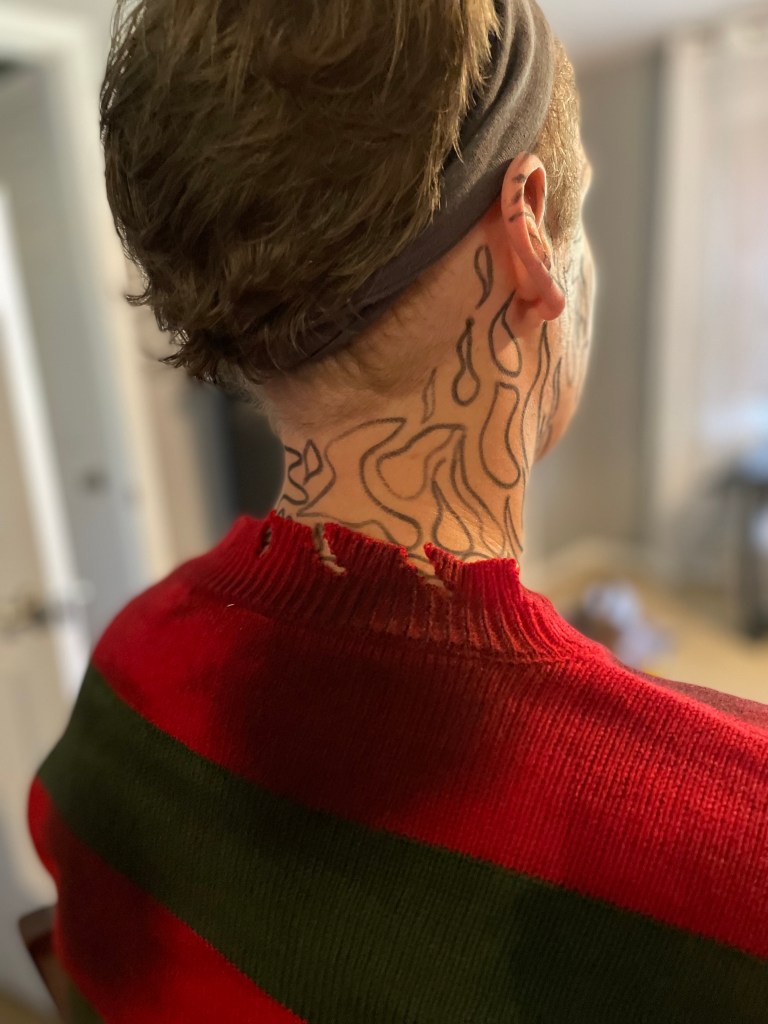
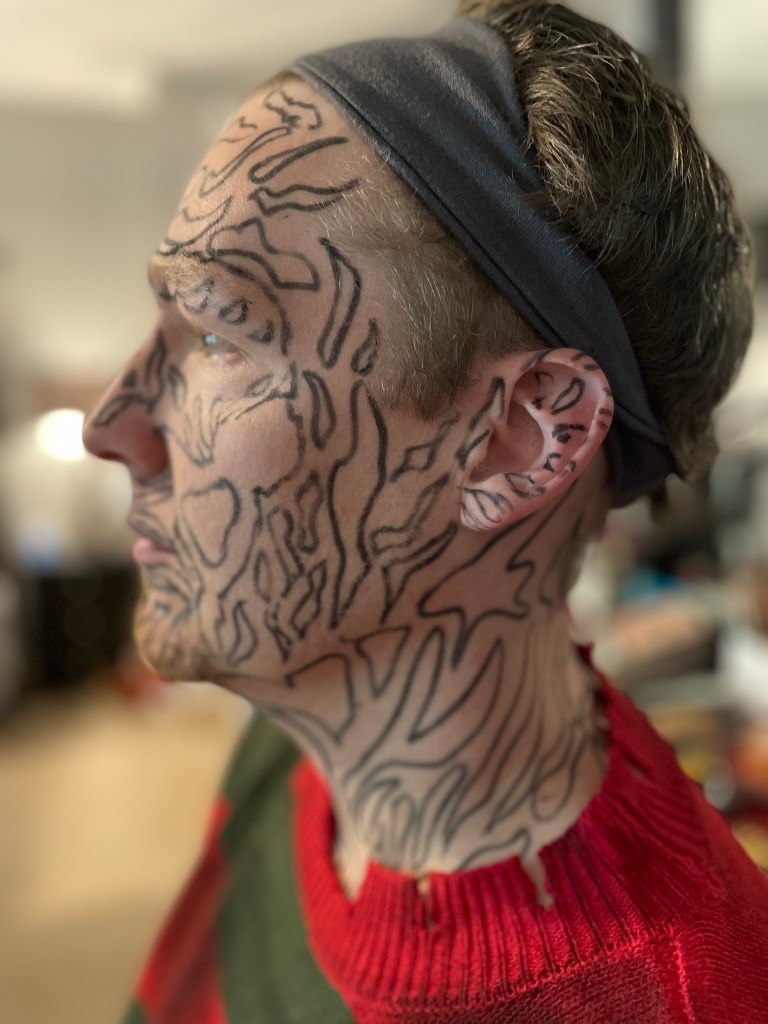
- First start by grabbing your reference picture and mark up your burns. Don’t overthink this part. Just have fun! Nothing should be symmetrical because when your face is on fire, the fire doesn’t stop to make everything even – haha!

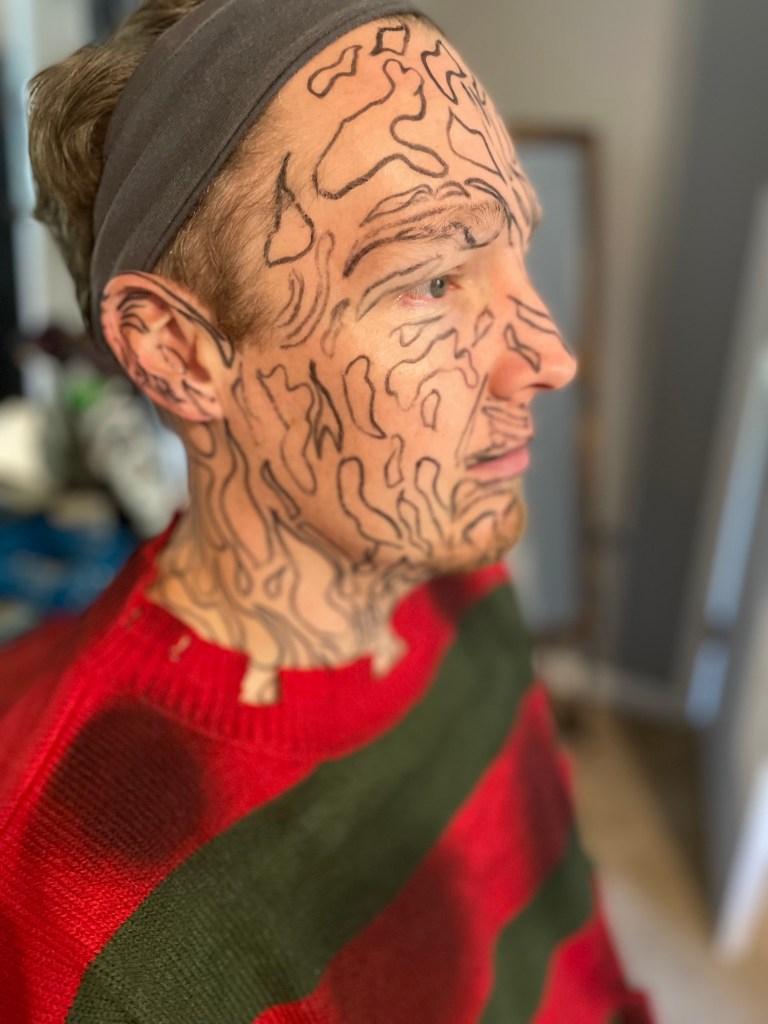
2) Start mixing your silicone compound. This is one of the most time consuming parts because you can only work with a little bit at at time. Part A’s container cannot mix into part B’s container, thus I used a pallet and wiped the spatula after each dip. You have about 10 minutes of working time, so I did it all in sections. And sadly, I don’t have pictures because well… I was mixing on a time crunch!
3) Apply the silicone. Take the spatula and mix it in the compound while it’s still runny. Follow your burn lines and create texture! You want to get it mixed to where it’s not too runny, but also not too thick. Once it becomes too thick, it’s harder to follow the lines & begins to dry. Cover all of your burn lines with the compound and wait for it to all dry. Hint: save the mouth for last so he or she can still hydrate!
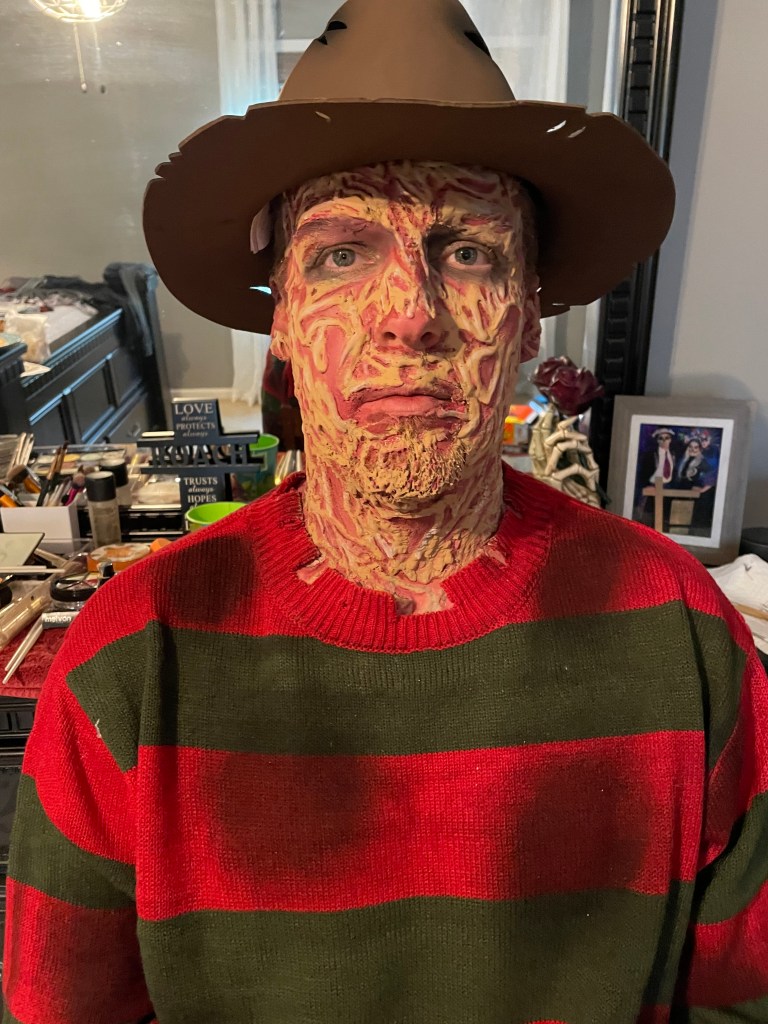
4) Apply the foundation. Once the silicone is all dry… it will take at least an hour to make it all the way around & dry…it is time to cover the lines! Here is why I should have used white liner..the black was super hard to cover! Apply a generous amount of foundation all over the working area and it will look more like textured skin!

Looking back we should have had him shave his goatee, but oh well, C’est la vie! I actually had Derek do this part so I could quickly apply my own makeup (since we were running out of time & had no CLUE his makeup would take three hours).
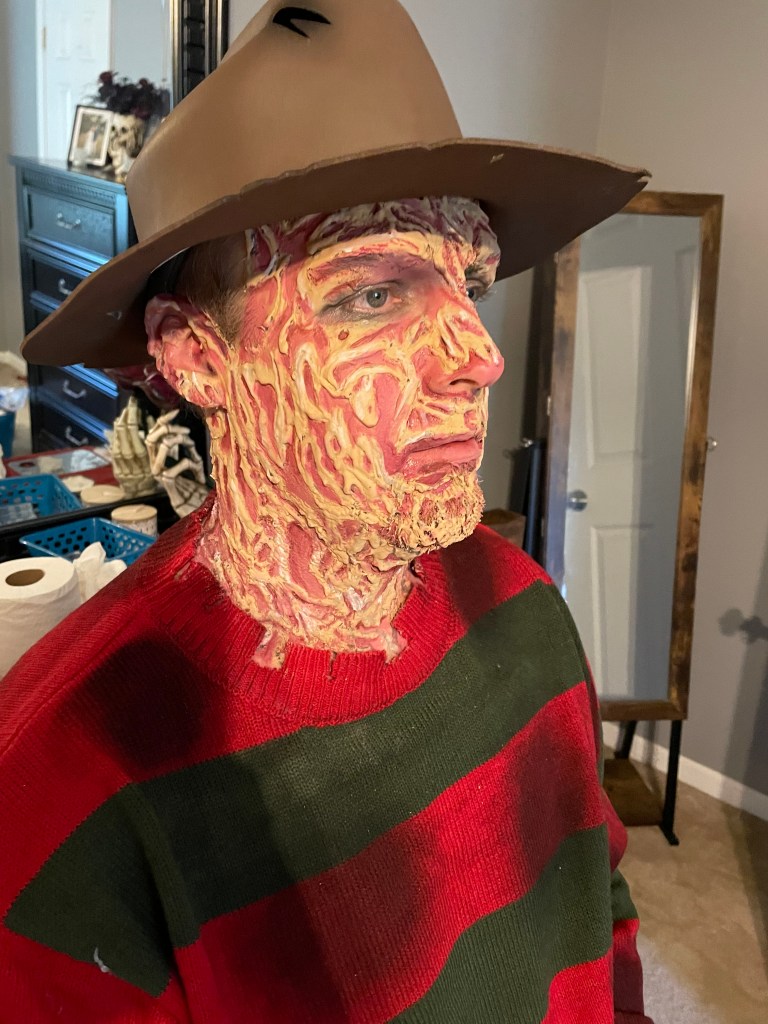
5) Apply makeup to the burn wounds.
- I took the fleshy-color from the bruise pallet and mixed it with the foundation to create a custom pinky-burnt flesh color. This is the next part that is the most time consuming! For each “hole” of a wound, you’ll insert this custom color. It’s a lot of mixing, but it’s worth it!
- Once all of the “holes” are filled in, take the brown from the bruise pallet and fill in the “top” portion of the “holes” and give it dimension. I basically did half moons and then blended it.
- Lastly, take white and fill in random spots that are raised (all over) to give highlight.
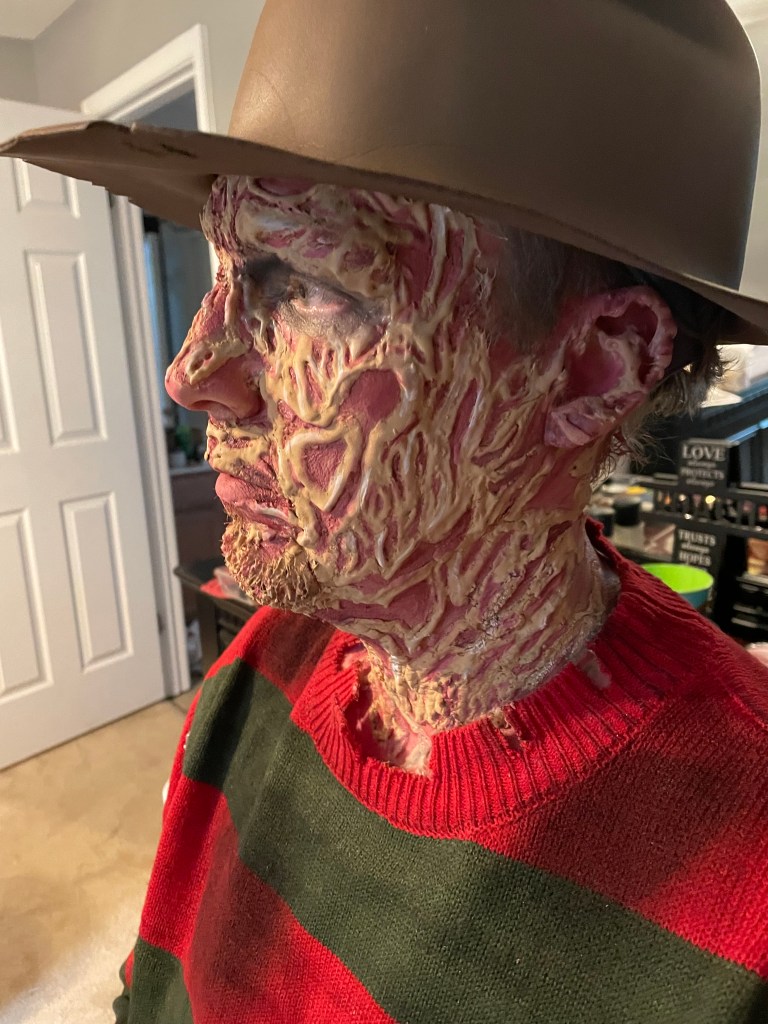
6) Fill in the eyes. I wish I had enough product (and time!) to do fleshy wounds around the eyes, but instead I decided just to fill in his eyes with black eyeshadow. You can use any kind.
7) Put on the costume & have fun!

If you decide to try this look, please leave a photo in the comments below! I promise I’m not cool enough to be sponsored by any of these products…I honestly just used them and loved them!
Enjoy the photos below from our wonderful Halloween!
Keepin’ in spooky, 24/7,
Emily